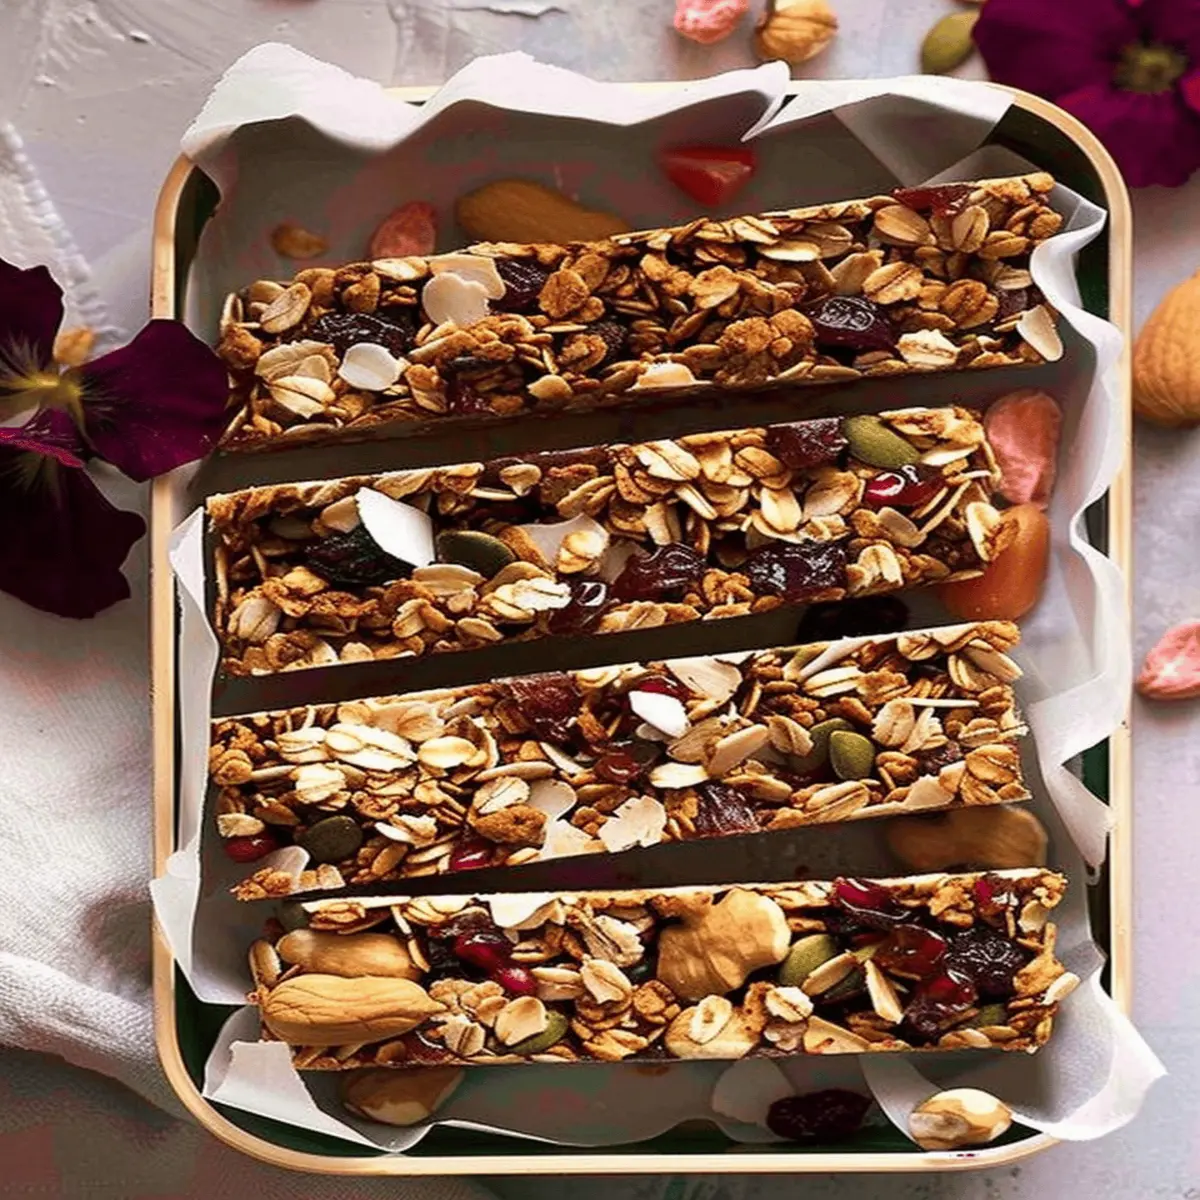
Introduction to Homemade Granola Bars with Fruit
Why Homemade Granola Bars Are a Game Changer
Have you ever found yourself rummaging through your kitchen, searching for a quick snack that’s both healthy and satisfying? Enter homemade granola bars! These tasty treats not only offer a delightful crunch but also provide a perfect solution for busy young professionals like you. When made at home, granola bars with fruit can become your go-to energy booster for those long days at work or after workouts.
One of the best things about creating your own granola bars is the flexibility you have in choosing ingredients. You can tailor them to your taste and dietary needs by mixing and matching an array of nuts, seeds, and fruits. For instance, according to a study by the Journal of Nutrition, incorporating fruits like dates, apricots, or raisins can boost both the flavor and nutritional value of your bars, providing essential vitamins and antioxidants.
Want to save some money while still enjoying a nutritious snack? You can easily make these bars in bulk, allowing you to skip costly store-bought versions, which often contain hidden sugars and preservatives. The U.S. Department of Agriculture emphasizes that when you prepare your own snacks, you can control the ingredients, ensuring they align perfectly with your health goals.
Elevate Your Snack Game with Flavorful Ingredients
Let’s be honest, who doesn’t love a snack that’s both delicious and nutritious? When it comes to homemade granola bars, the options are virtually endless. You can experiment with:
- Fruits: Dried cranberries, blueberries, or even tropical options like mango.
- Nuts & Seeds: Almonds, walnuts, chia seeds, or pumpkin seeds for added crunch.
- Sweeteners: Honey, maple syrup, or agave nectar that complement the granola bars fruit.
Not only will you gain satisfaction from knowing exactly what’s in your snacks, but you’ll also find joy in crafting blends that reflect your unique taste preferences. So, why not get started on this delicious journey? For a dive into some excellent ingredient ideas, check out this article on healthy snacking.
In our upcoming sections, we will explore a delightful recipe that marries these concepts beautifully, offering you the perfect balance of taste and health!
Ingredients for Homemade Granola Bars
Essential ingredients for the perfect granola bar
Creating your own granola bars is not only rewarding but also a fabulous way to customize your snacks. For a solid base, you’ll need:
- Rolled oats: They’re the heart of your granola bars. Opt for old-fashioned oats for a chewy texture.
- Nut butter: Whether you prefer almond, peanut, or sunflower butter, this binds the ingredients together.
- Sweetener: Honey, maple syrup, or agave offer a touch of sweetness and stickiness, ensuring every bite holds up.
If you’re curious about the health benefits of these ingredients, check out this article on granola nutrition for some fascinating insights.
Optional add-ins to elevate flavors
To make your granola bars fruit truly your own, consider these fun additions:
- Dried fruits: Raisins, cranberries, or apricots add a burst of flavor.
- Nuts and seeds: Almonds, walnuts, or chia seeds enhance both texture and nutrition.
- Chocolates or spices: Mini chocolate chips or a sprinkle of cinnamon can create that sweet-savory balance.
Experimenting with these ingredients can be a delightful journey in your kitchen! What combinations will you try?
Step-by-Step Preparation of Granola Bars
Granola bars are not just a tasty treat; they’re a great way to fuel your day! Whether you’re hitting up the gym, tackling a busy workday, or planning a long hike, these bars are a versatile snack that packs a nutritious punch. Ready to make your own? Let’s dive into the step-by-step preparation of granola bars fruit!
Gather your ingredients
Before you even think about getting your hands dirty, you’ll want to gather all your ingredients. Here’s what you’ll need for a delightful batch of granola bars:
- Oats: 2 cups of rolled oats for that chewy texture.
- Nuts or seeds: 1 cup of your choice—think almonds, walnuts, or pumpkin seeds.
- Dried fruit: 1 cup of chopped fruits like apricots, cranberries, or raisins add sweetness.
- Honey or maple syrup: ½ cup to bind everything together.
- Nut butter: ½ cup, such as almond or peanut butter for creaminess.
- Vanilla extract: 1 tsp for a hint of flavor.
- Salt: Just a pinch to enhance the sweetness.
Feel free to get creative and adjust based on your preferences or dietary needs. Check sites like NutritionData for nutrition specifics of various ingredients.
Preheat the oven and prepare your baking dish
Next, it’s time to preheat your oven to 350°F (175°C). While that’s warming up, grab an 8×8 inch baking dish and lightly grease it. You can use coconut oil or line it with parchment paper for easier removal later. These little steps will make a world of difference when it comes time to slice those bars.
Combine dry ingredients in a large bowl
In a big mixing bowl, combine your dry ingredients: the oats, nuts or seeds, and dried fruit. Mix them well to ensure an even distribution. This is where you can get your hands in there; it’s all about that personal touch! As you mix, you’re not just combining ingredients but also imagining the perfect snack you’ll create.
Mix wet ingredients and combine with dry
In a separate bowl, blend your wet ingredients: the honey, nut butter, and vanilla extract. Stir until smooth. Once mixed, pour the wet mixture into the bowl of dry ingredients. You’ll want to fold in the wet ingredients carefully—this isn’t a wrestling match! Think of it as giving your ingredients a loving hug until they’re all coated.
For additional ideas, you might want to check out Minimalist Baker’s approach to granola bars, which can add unique flavors to your own.
Press the mixture into the baking dish
Now for the fun part! Pour your combined mixture into the prepared baking dish. Use a spatula or your clean hands to firmly press the mixture down. The tighter you pack it, the less likely it is to crumble after baking. Think of this step as sculpting your snack—make it dense and even!
Bake until golden brown
Slide your dish into the oven and bake for 25-30 minutes. Keep an eye on it—you’re looking for a golden brown finish. The lovely aroma filling your kitchen will have you counting down the minutes. When done, remove from the oven and let it cool in the dish for about 10 minutes.
Cool and cut into bars
Last, let your granola creation cool completely before cutting it into bars. Use a sharp knife for clean edges, and resist the urge to dive in right away (though we all know it’s tough!).
Once cut, store your granola bars in an airtight container. They can last up to a week, but I bet they’ll be gone much faster once your friends and family get a taste!
Enjoy your homemade granola bars, and remember—each bit of granola bars fruit goodness is not just a snack but a little bite of happiness!
Variations on Granola Bars
When it comes to making delicious granola bars, the possibilities are endless. Whether you crave something fruity, chocolatey, or nutty, you can customize these treats to suit your taste. Here are three tasty variations to inspire your next baking adventure.
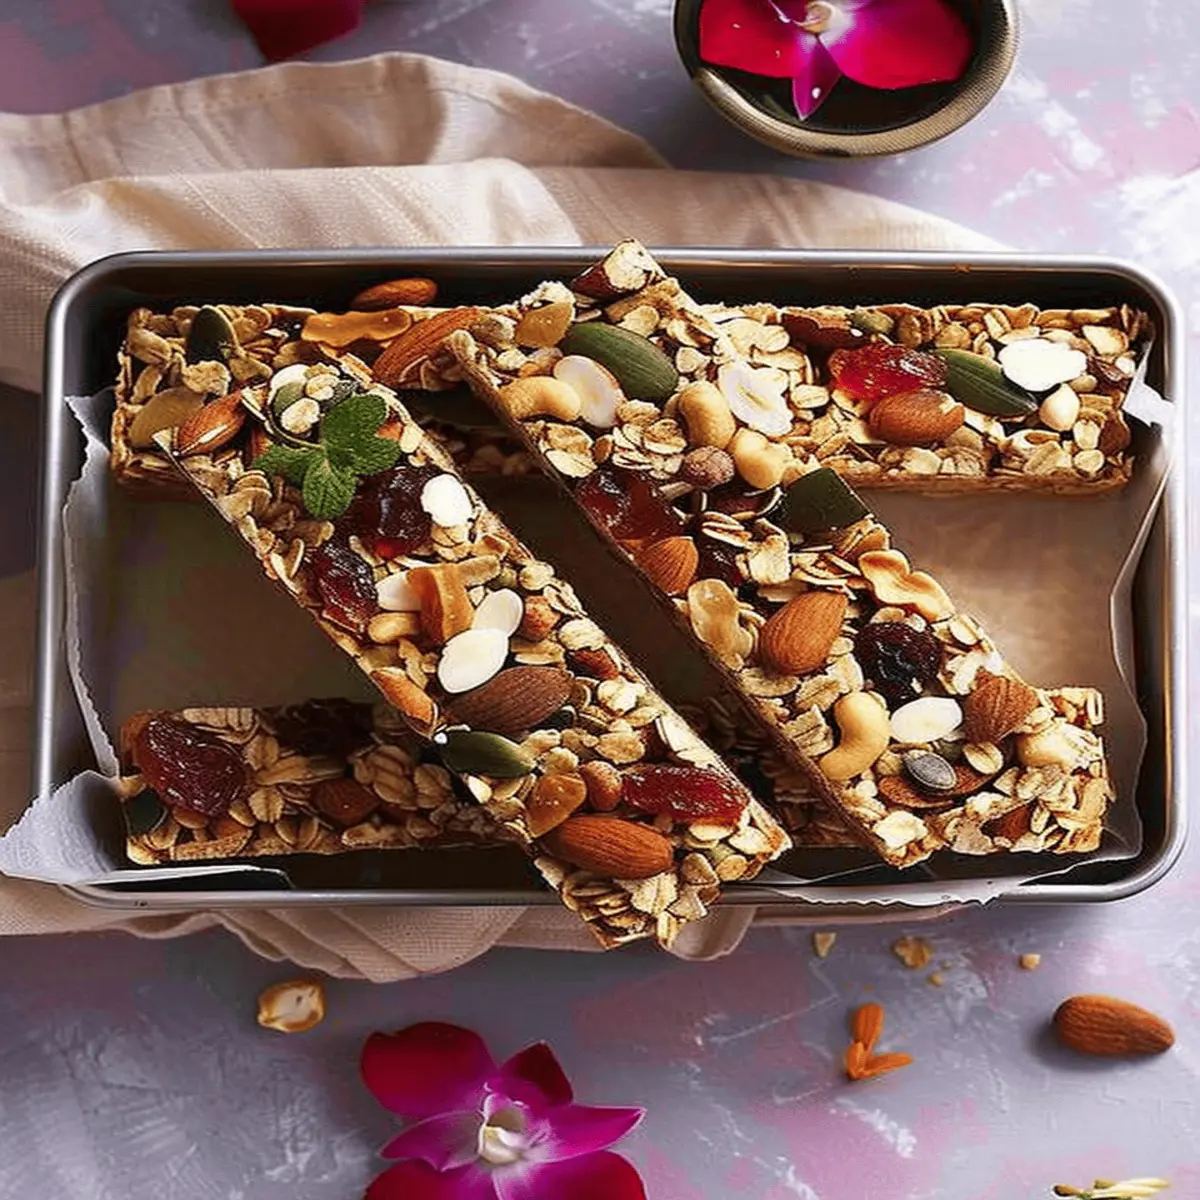
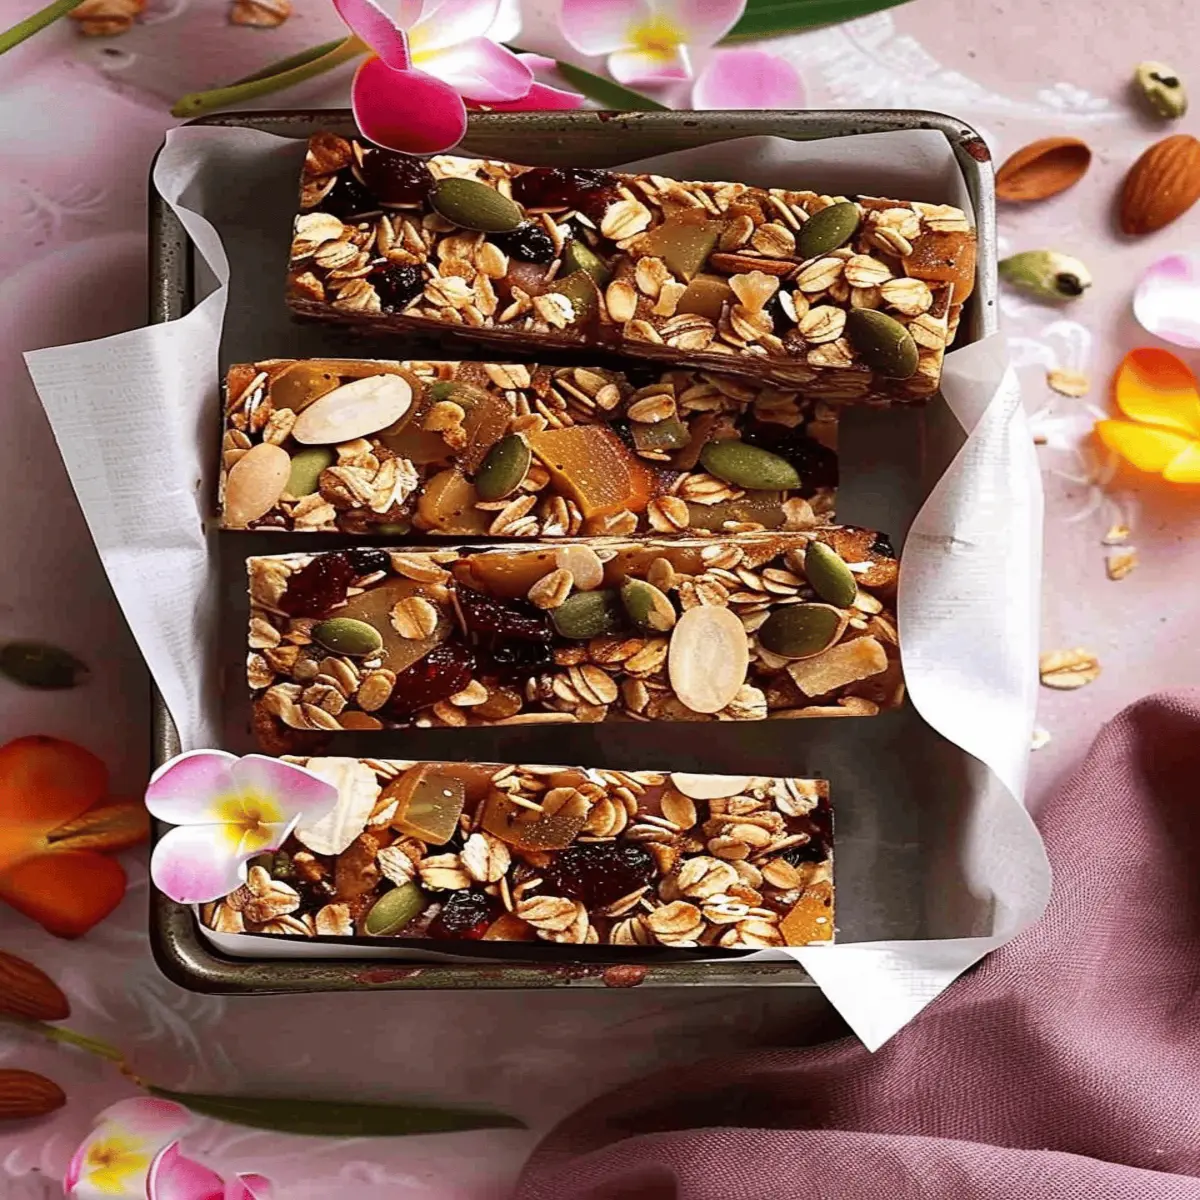
Fruit and Nut Granola Bars
These bars are perfect for those who enjoy a blend of flavors and textures. By mixing your favorite dried fruits like cranberries, apricots, and raisins with a medley of nuts such as walnuts or almonds, you’ll create a truly satisfying snack. The addition of chia or flaxseeds not only boosts nutrition but also adds a delightful crunch. Did you know that nuts provide healthy fats and proteins? The Nuts for Life initiative highlights the many health benefits nuts bring to our diets.
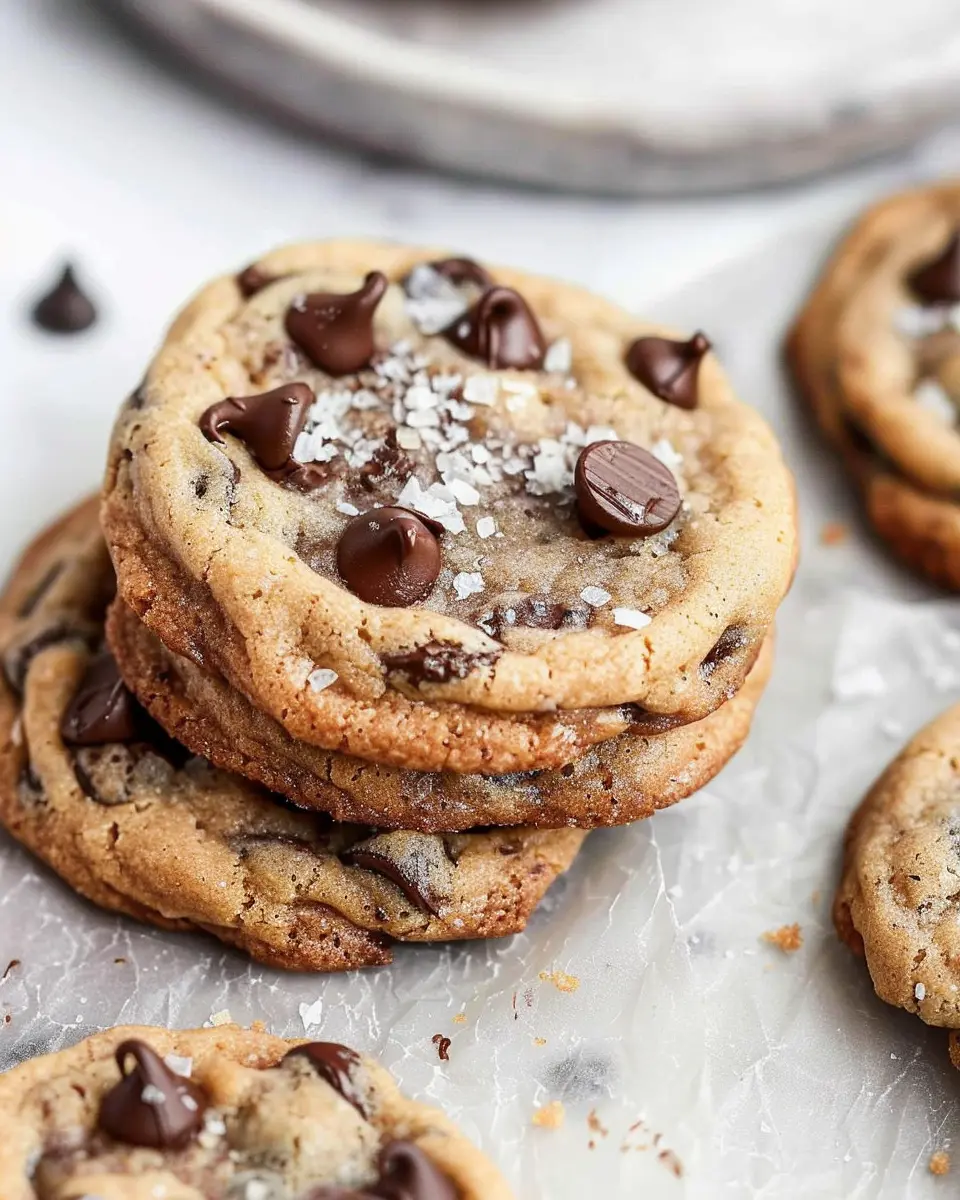
Chocolate Chip Granola Bars
For the chocolate lovers among us, these granola bars are a delightful treat. Using dark chocolate chips not only satisfies your sweet tooth but also offers antioxidants. You can stir in a bit of cocoa powder for an extra chocolate punch, or even use nut butter as a base for creaminess. Pair them with coffee for an indulgent afternoon pick-me-up. Imagine the joy of biting into a chewy bar filled with melted chocolate—pure bliss!
Coconut Almond Granola Bars
If you’re seeking tropical vibes, look no further than coconut almond bars. Combine unsweetened shredded coconut with crushed almonds for a crunchy texture. The coconut brings a hint of sweetness while the almonds provide protein. A splash of vanilla extract will elevate these bars to new heights. To boost your coconut intake, check out sources from the Coconut Research Center for some intriguing facts about this versatile fruit.
With these variations, you’ll always have an assortment of granola bars on hand, ready to fuel your day. So, let your creativity run wild in the kitchen, and enjoy the delicious results!
Cooking Tips and Notes for Granola Bars
Common Mistakes to Avoid
When whipping up granola bars fruit, there are a few common pitfalls to keep in mind:
- Not Measuring Ingredients Accurately: This can throw off your balance of flavors and textures. Use a scale for precise measurements.
- Skipping the Pressing Step: Pressing the mixture into your pan is key for achieving that perfect chewy texture. Don’t skip it!
- Using Old Ingredients: Dated nuts or dried fruits lose flavor and can affect the overall taste. Always go for fresh!
Pro Tips for the Best Texture
Achieving the right texture in your granola bars fruit can elevate your snack game:
- Experiment with Binders: Honey, maple syrup, or almond butter will impact the final chewiness. Try mixing different binders for a unique texture.
- Chill Before Cutting: Allow your bars to chill in the fridge for a couple of hours before cutting. This helps them hold their shape better.
- Mix in Coconut: Shredded coconut can add a delightful chewiness and flavor boost. Trust me, it’s a game-changer!
For more information on granola bars, consider checking out Healthline’s guide on nutrition or Serious Eats for creative variations. Remember, a little experimentation leads to big flavor!
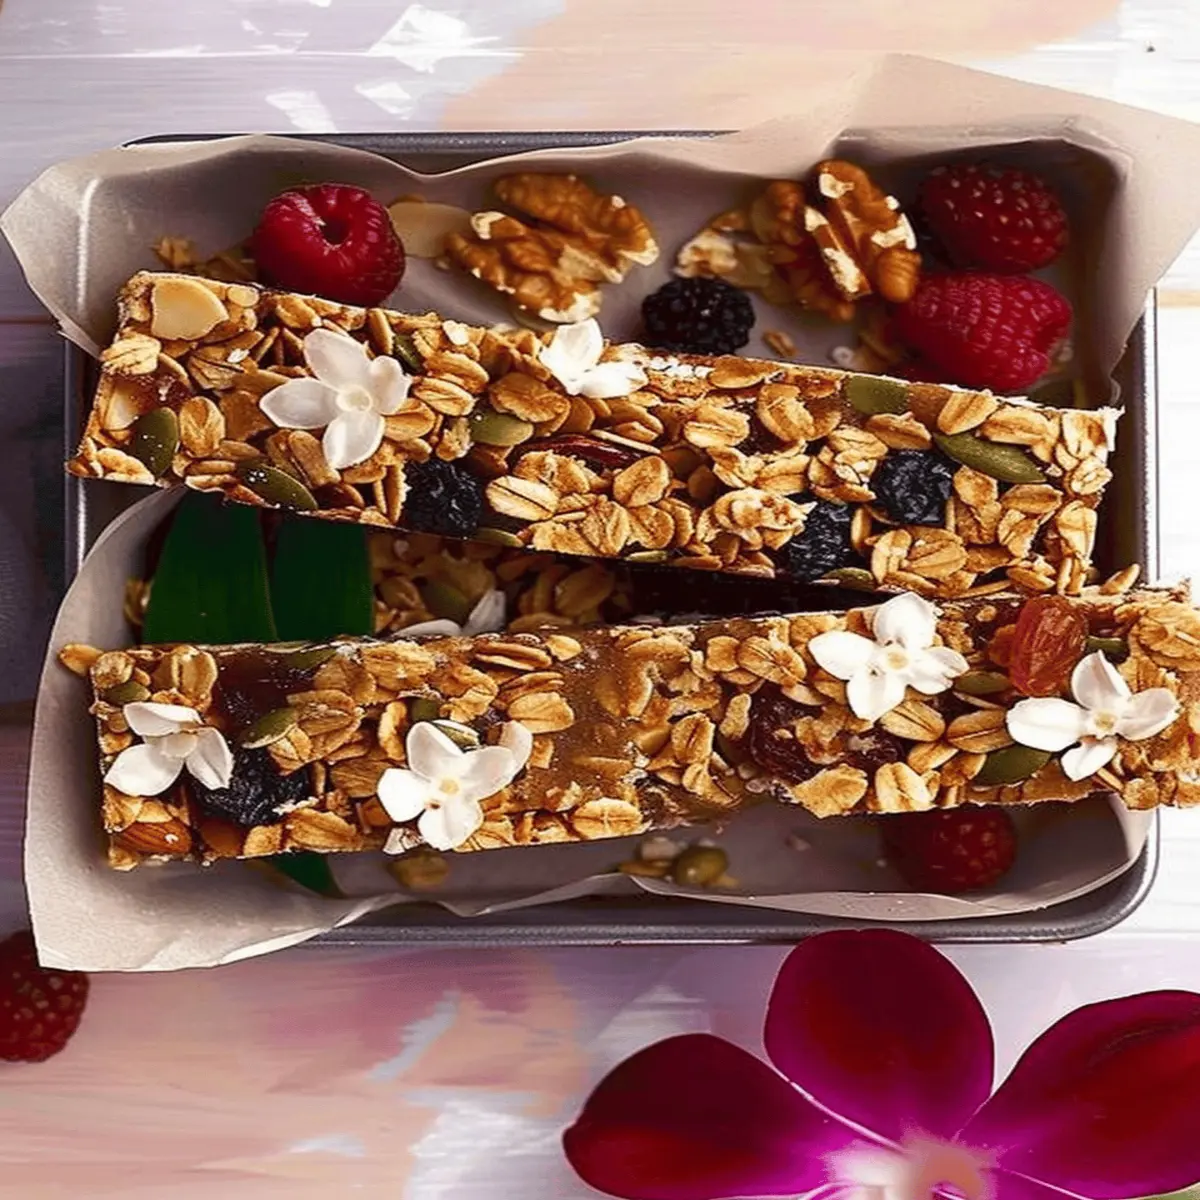
Serving Suggestions for Granola Bars
Perfect pairings for a quick snack
When you’re in need of a quick boost, granola bars fruit can be your best companion. Pair them with a creamy yogurt dip for a satisfying snack. Greek yogurt adds a protein punch, keeping you full longer. Or, why not try a drizzle of honey or maple syrup? It enhances the sweetness and adds a delightful touch. For a touch of nostalgia, serve them alongside a glass of cold milk – a modern twist on a classic childhood treat!
Creative ways to serve granola bars
Getting creative with your granola bars can elevate your snacking experience. Here are a few ideas:
- Charcuterie board: Include granola bars as part of a healthy spread with fruits, nuts, and cheeses – perfect for gatherings or a cozy movie night.
- Breakfast parfaits: Layer crumbled granola bars with yogurt and fresh fruit for a stunning breakfast option. Not only does it look amazing, but it’s also an easy way to start your day!
- Smoothie addition: Blend chunks of granola bars into your favorite smoothie for added texture and flavor.
With so many options, you’ll never get bored! If you’re looking for more detailed snack ideas, check out resources from Healthline or EatingWell.
Time Breakdown for Granola Bars
Preparation Time
Getting started with your granola bars fruit recipe is a breeze! You’ll spend about 15-20 minutes prepping your ingredients. This includes chopping your favorite fruits and measuring out oats and nuts. Don’t rush here—a little time spent now ensures better texture and flavor in your final product.
Baking Time
The real magic happens in the oven. Bake your creation for 25-30 minutes, or until the edges turn a lovely golden brown. Keep an eye on them—nothing worse than burnt granola bars!
Total Time
From start to finish, you’re looking at about 50-60 minutes. In under an hour, you can have a nutritious, homemade snack ready to enjoy. Once you get the hang of it, you might find yourself making these bars weekly! Want to dive deeper into measuring ingredients? Check out this comprehensive guide on ingredient measurement.
Nutritional Facts of Granola Bars
Calories per bar
When it comes to granola bars, you might be wondering how many calories you’re nibbling on. On average, a homemade bar can range from 150 to 300 calories, depending on its ingredients. By using natural sweeteners or fruits in your granola bars fruit recipe, you can keep the calorie count manageable while enhancing flavor.
Key nutrients to consider
As you enjoy your granola bars, take note of these key nutrients:
- Fiber: Essential for digestion, most bars provide about 3-5 grams per serving.
- Protein: Great for energy, homemade versions can offer around 5-10 grams.
- Healthy fats: Ingredients like nuts or seeds contribute beneficial fats and enhance satiety.
For deeper insight, check resources from the USDA or the Mayo Clinic on nutrition basics.
Health benefits of homemade granola bars
Crafting your own granola bars means you control the ingredients. This not only minimizes unwanted sugars and additives but also maximizes nutrients. Homemade bars can provide sustained energy, making them perfect for on-the-go snacks or as a pre-workout boost. Plus, you can experiment with various flavors to suit your taste—like adding your favorite dried fruits or dark chocolate chips! Interested in nutrition-related research? The Harvard School of Public Health has excellent resources on the benefits of whole foods in your diet.
FAQ about Homemade Granola Bars
How long do homemade granola bars last?
One of the most appealing aspects of homemade granola bars is their shelf life, which typically ranges from one to two weeks when stored properly. To keep them fresh longer, consider wrapping individual bars tightly in plastic wrap or aluminum foil and storing them in an airtight container. If you’d like to prolong their lifespan even further, you might want to freeze them—frozen granola bars can last for up to three months! Just be sure to thaw them before enjoying that delicious snack.
Can I customize the ingredients?
Absolutely! One of the best parts about making your own granola bars is the ability to customize ingredients. Whether you prefer peanut butter over almond butter, or want to swap in your favorite granola bars fruit, the possibilities are endless. You can add:
- Dried fruits like cranberries, apricots, or your choice of berries
- Nuts such as almonds or walnuts for extra crunch
- Seeds like chia or flax for added nutrition
- Sweeteners like honey, agave, or maple syrup to suit your taste
Experimenting with various ingredients can make each batch unique and tailored to your preferences!
Are homemade granola bars healthier than store-bought?
Generally, yes! Homemade granola bars can be a healthier option compared to many commercial varieties. Store-bought bars often contain unnecessary additives, preservatives, and hidden sugars. By making your own, you have complete control over what goes into them. A study by the Harvard T.H. Chan School of Public Health emphasizes the benefits of wholesome ingredients. So, if you’re looking to snack smarter, homemade is often the way to go!
For more ideas on making healthier snacks at home, you can check out resources from The American Heart Association or Nutrition.gov.
Conclusion on Homemade Granola Bars
Making your own granola bars offers numerous advantages that can fit seamlessly into a busy lifestyle.
- Control over Ingredients: You know exactly what’s going into your snacks—avoid preservatives and refined sugars which are common in store-bought versions.
- Cost-Effective: Homemade options can save you money in the long run—ingredients bought in bulk can go a long way.
- Customizable Flavors: Whether you prefer chocolate, nuts, or an assortment of granola bars fruit, you can mix and match based on your cravings.
So why not try whipping up a batch today? Discover more about the nutritional benefits of different nuts and grains here and enjoy your healthier, homemade treat!
PrintGranola Bars Fruit Bliss: Easy, Chewy Treats You’ll Love!
Indulge in the deliciousness of homemade chewy granola bars packed with fruits. Perfect for a quick snack or a healthy breakfast!
- Prep Time: 10 minutes
- Cook Time: 25 minutes
- Total Time: 35 minutes
- Yield: 12 bars 1x
- Category: Snacks
- Method: Baking
- Cuisine: American
- Diet: Vegetarian
Ingredients
- 2 cups rolled oats
- 1 cup mixed dried fruit (such as cranberries, apricots, and raisins)
- 1/2 cup honey or maple syrup
- 1/2 cup nut butter (such as almond or peanut butter)
- 1/4 cup flaxseeds
- 1/2 teaspoon vanilla extract
Instructions
- Preheat your oven to 350°F (175°C) and line a baking dish with parchment paper.
- In a large bowl, combine the rolled oats, dried fruit, flaxseeds, and nut butter.
- Pour in the honey and vanilla extract, then mix until fully incorporated.
- Press the mixture firmly into the prepared baking dish.
- Bake for about 20-25 minutes until golden brown.
- Allow to cool completely before cutting into bars.
Notes
- Store in an airtight container to maintain freshness.
- These bars can be customized with your choice of nuts or seeds.
Nutrition
- Serving Size: 1 bar
- Calories: 150
- Sugar: 10g
- Sodium: 50mg
- Fat: 5g
- Saturated Fat: 1g
- Unsaturated Fat: 3g
- Trans Fat: 0g
- Carbohydrates: 25g
- Fiber: 3g
- Protein: 4g
- Cholesterol: 0mg
Keywords: granola bars fruit