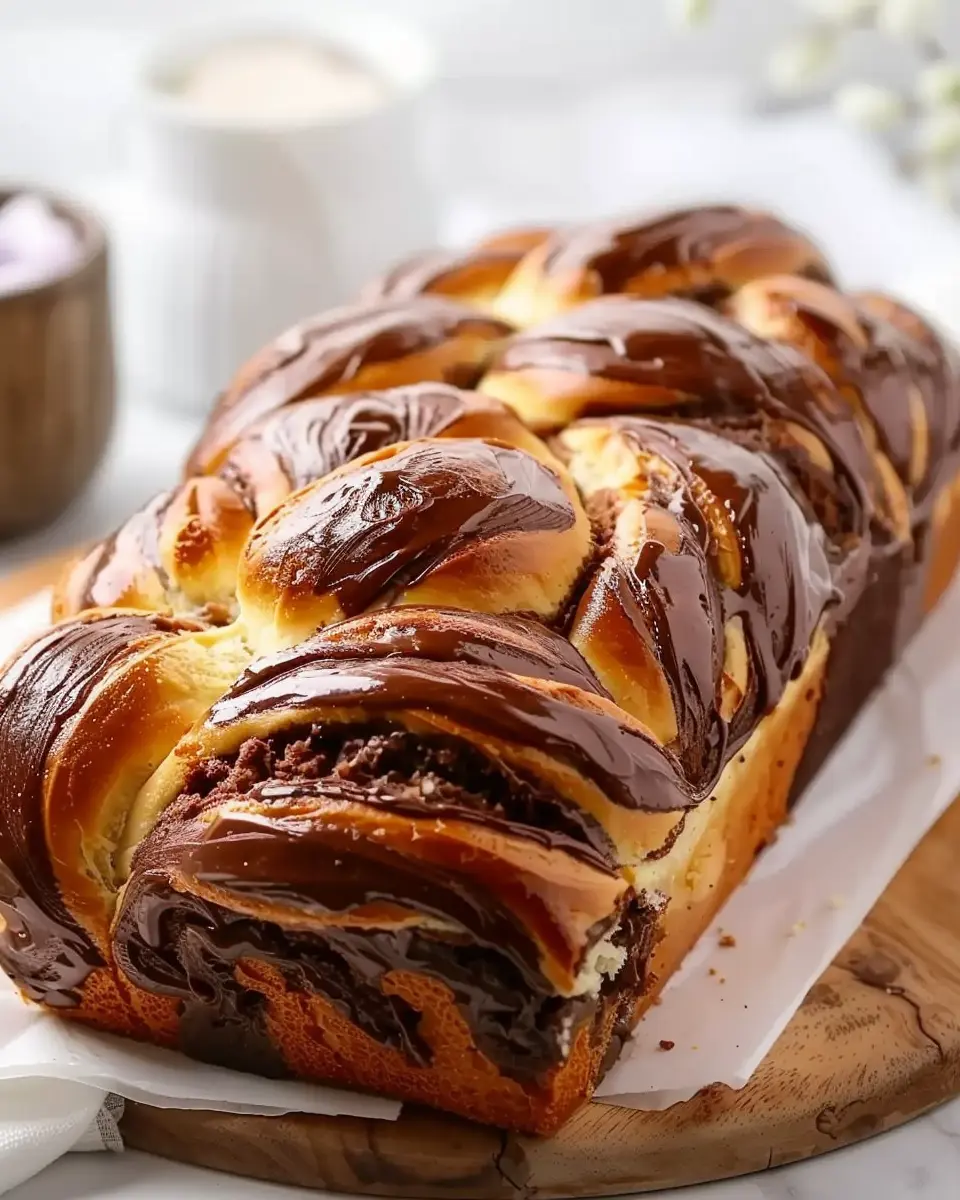
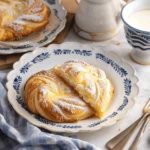
Introduction to Cheesecake Danish
If you’re looking to indulge in the perfect homemade treat, let me introduce you to the delightful world of Cheesecake Danish. This mouthwatering pastry combines the rich, creamy flavors of cheesecake with the flaky, warm goodness of a Danish pastry. It’s a harmonious blend of textures and tastes that can brighten up any breakfast or snack time.
Why Cheesecake Danish is the Perfect Homemade Treat?
There are several reasons why Cheesecake Danish has skyrocketed in popularity among dessert lovers. First and foremost, they are incredibly versatile. You can enjoy these pastries for breakfast, as a mid-afternoon snack, or even as a delightful addition to a brunch spread. In fact, you can easily customize your Danish by adding seasonal fruits, chocolate, or even a drizzle of caramel. The possibilities are endless!
Moreover, making Cheesecake Danish at home allows you to control the ingredients and, honestly, just makes the whole experience more rewarding. Did you know that homemade pastries can be healthier than store-bought versions? According to a report from the American Heart Association, reducing sugar and using fresh ingredients can drastically improve your treat’s nutritional profile.
Now, if you’ve ever wandered into a local bakery and felt an electric connection to a perfectly baked pastry, you know that Cheesecake Danish can offer that same love and festive feeling right in your kitchen. The process of rolling out the dough and filling it with a rich, creamy cheesecake mixture is not only therapeutic but also a true celebration of the art of baking. You’ll find that your friends and family will be tremendously impressed when you present them with these freshly baked beauties!
But let’s not forget about the great satisfaction of sharing your Cheesecake Danish with others. It’s an inviting way to show love and care, bringing people together over shared plates. Whether you’re hosting a gathering or simply treating yourself, these pastries nurture a sense of warmth and community.
So, get ready to roll up your sleeves and embark on this delightful baking journey! You’ll be creating memories, delicious moments, and perhaps a new favorite treat. For tips on perfecting your pastry skills, consider checking resources like the King Arthur Baking Company for expert guidance.
Ingredients for Cheesecake Danish
Essential ingredients for the classic Cheesecake Danish
Making a delightful Cheesecake Danish is simpler than you might think! Here are the must-have ingredients you’ll need:
- Cream Cheese: The star of the show, providing that rich and creamy filling.
- Granulated Sugar: Sweetens the cream cheese to perfection.
- Vanilla Extract: Adds depth and enhances the overall flavor.
- Puff Pastry: This flaky base is both easy to work with and delicious.
- Egg: Helps bind the filling together and gives it a lovely golden color when baked.
For more in-depth baking tips, consider exploring resources like Serious Eats.
Optional ingredients for added flavor and variety
To elevate your Cheesecake Danish, think about incorporating some optional ingredients:
- Fruit Toppings: Fresh berries or cherry preserves can add a burst of flavor.
- Lemon Zest: A little citrus brightens up the filling beautifully.
- Almond Extract: For a unique twist, this oil enhances the overall taste.
- Nuts: Sliced almonds or chopped pecans can provide a lovely crunch.
By playing around with these ingredients, you can create a variety of Cheesecake Danishes that are sure to impress friends and family. So, what’s your favorite flavor combination?
Preparing Cheesecake Danish
Making a delicious Cheesecake Danish can seem intimidating at first, but with a little preparation and the right approach, you’ll be able to whip up this delightful pastry in no time. Let’s break down the steps you’ll need to follow to create a perfect Cheesecake Danish that’s sure to impress your friends and family.
Gather all ingredients and tools
Before you start cooking, it’s crucial to gather all the ingredients and tools you’ll need. This not only streamlines the process but also ensures you don’t forget anything essential halfway through. Here’s a checklist to help you out:
Ingredients:
- 1 package of puff pastry (thawed)
- 8 oz cream cheese (softened)
- 1/4 cup granulated sugar
- 1/2 tsp vanilla extract
- 1 egg yolk
- 1 egg (for egg wash)
- Fresh fruit (like berries or sliced peaches, optional)
- Powdered sugar (for dusting)
Tools:
- Mixing bowl
- Rolling pin
- Baking sheet
- Parchment paper
- Pastry brush
- Knife or pizza cutter
Having everything organized and ready to go not only makes the process smoother but also allows for a more enjoyable baking experience. Once you’ve set this up, it’s time to dive into the fun part—making the cream cheese filling!
Prepare the cream cheese filling
The heart of any good Cheesecake Danish lies in its filling. Here’s how to get it just right:
- In a medium mixing bowl, combine the softened cream cheese, granulated sugar, and vanilla extract.
- Use a hand mixer or a whisk to blend them until the mixture is smooth and creamy.
- Add the egg yolk and mix until everything is well combined.
This filling is not just delicious; it’s creamy and has that perfect balance of sweetness that pairs beautifully with the flaky pastry. If you’re feeling adventurous, consider adding a touch of lemon zest for a fresh burst of flavor—just one more way to customize your Cheesecake Danish.
Roll out and cut the pastry dough
Now that your filling is ready, it’s time to work with the puff pastry:
- On a lightly floured surface, roll out the pastry dough into a square or rectangle about 1/8 inch thick.
- Cut the dough into squares (about 4×4 inches). If you prefer rectangular shapes, adjust as needed.
Remember to handle the pastry gently; you want it to stay cold to achieve that wonderful flaky texture during baking. If the pastry gets too warm, pop it in the refrigerator for a few minutes before proceeding.
Assemble the Cheesecake Danish
With the filling and pastry in place, assembling your Cheesecake Danish is a breeze:
- Place a generous spoonful of the cream cheese filling in the center of each pastry square.
- Fold the corners of the pastry toward the center, pinching them together to create a pocket.
- If desired, top with fresh fruit for added sweetness and visual appeal.
This is also a moment where you can let your creativity shine—think about how you want to present your Danish. Perhaps a pattern of folds or a fruit topping that you love!
Bake and cool the Danish
Preheat your oven to 400°F (200°C) while you get your pastries ready for baking. Here’s the final stretch:
- Place your assembled Cheesecake Danish on a baking sheet lined with parchment paper.
- Whisk the egg and brush it over the tops of the pastries for that beautiful golden color.
- Bake for about 15-20 minutes or until they are golden brown.
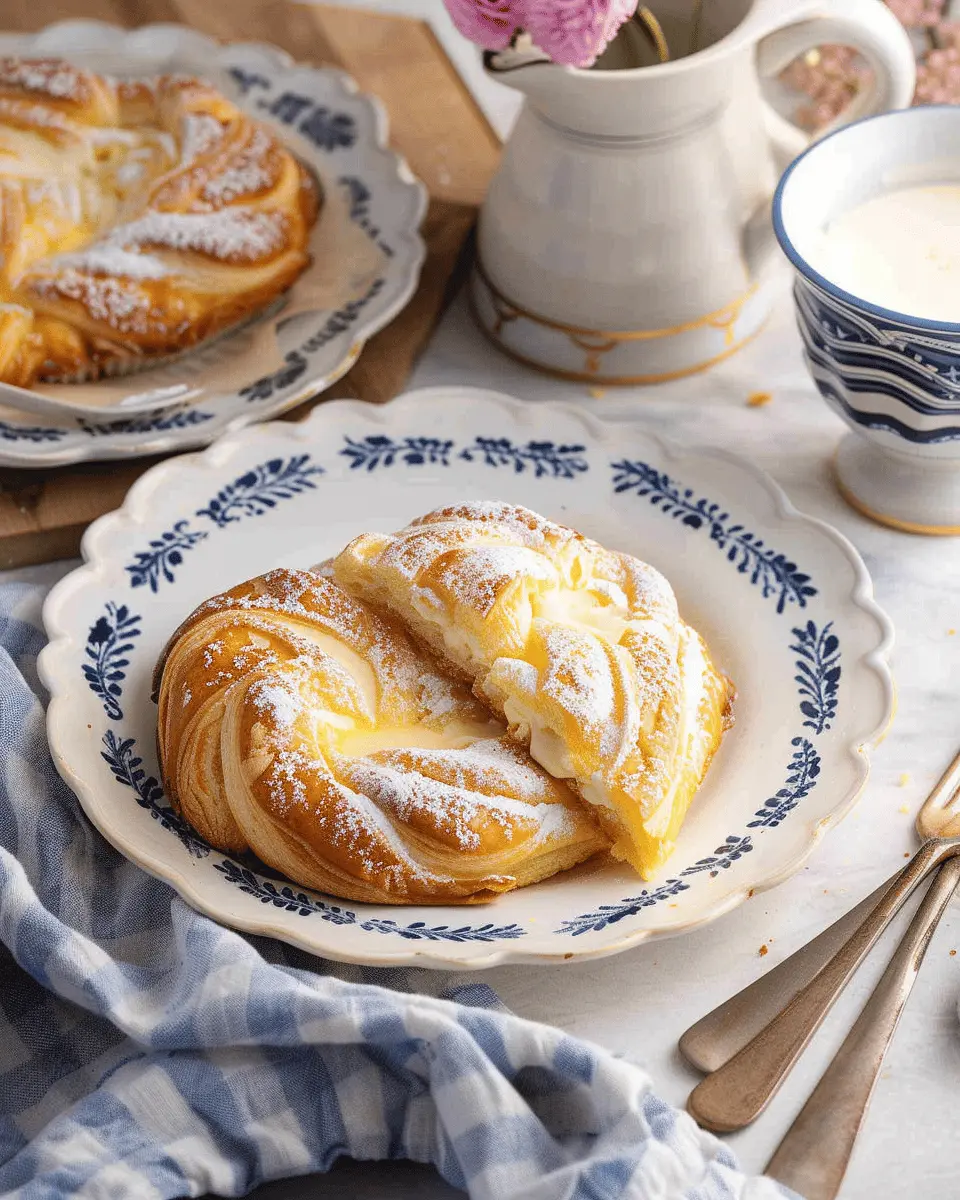
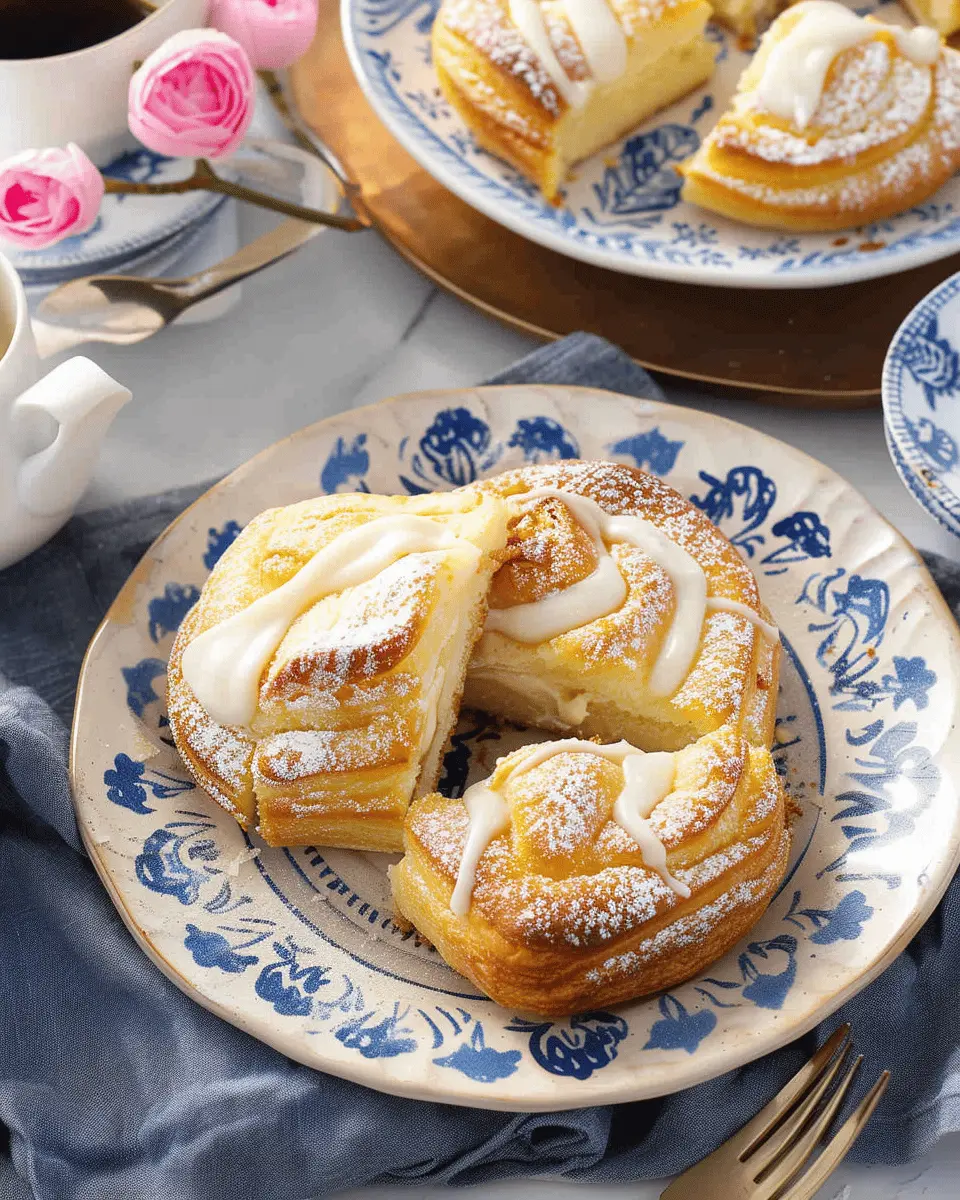
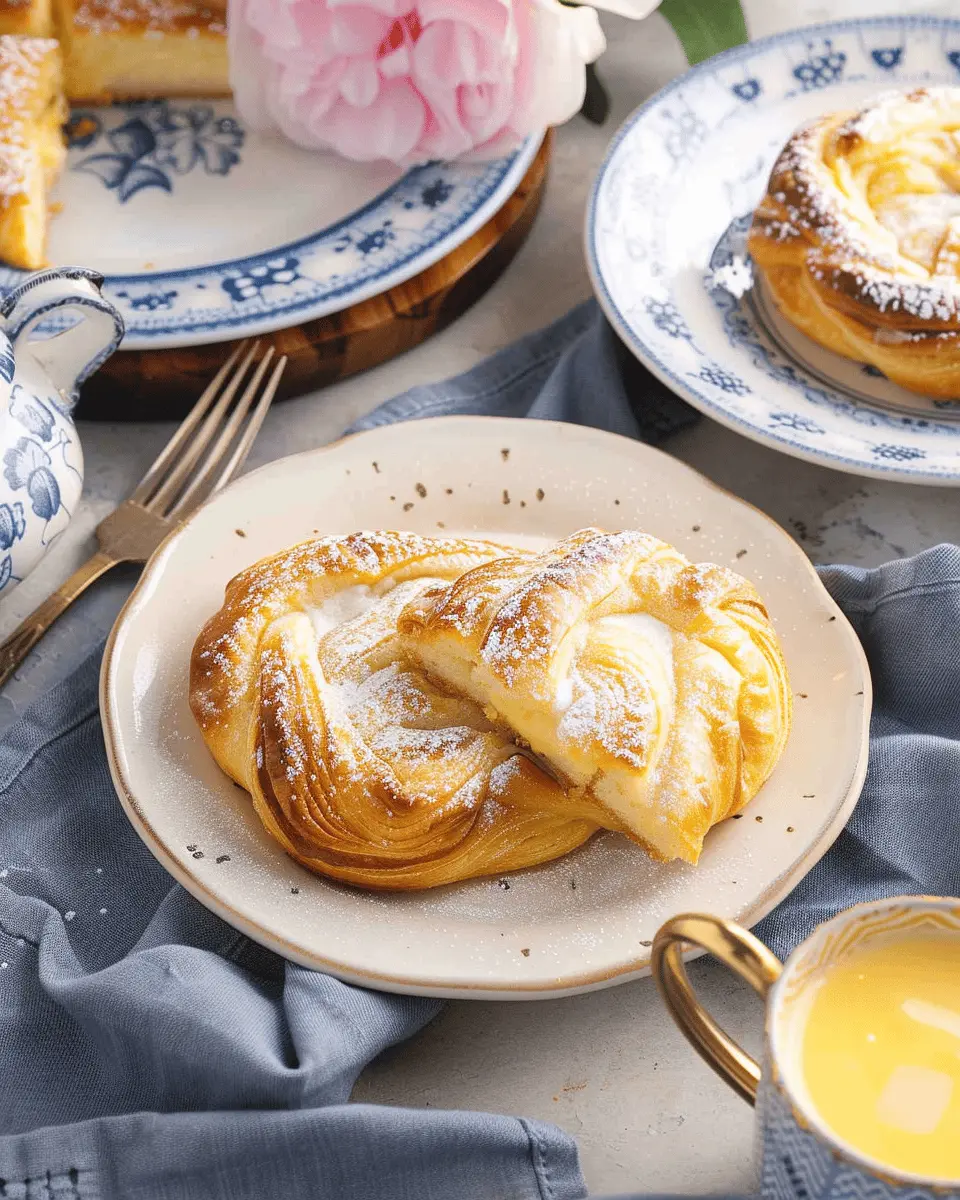
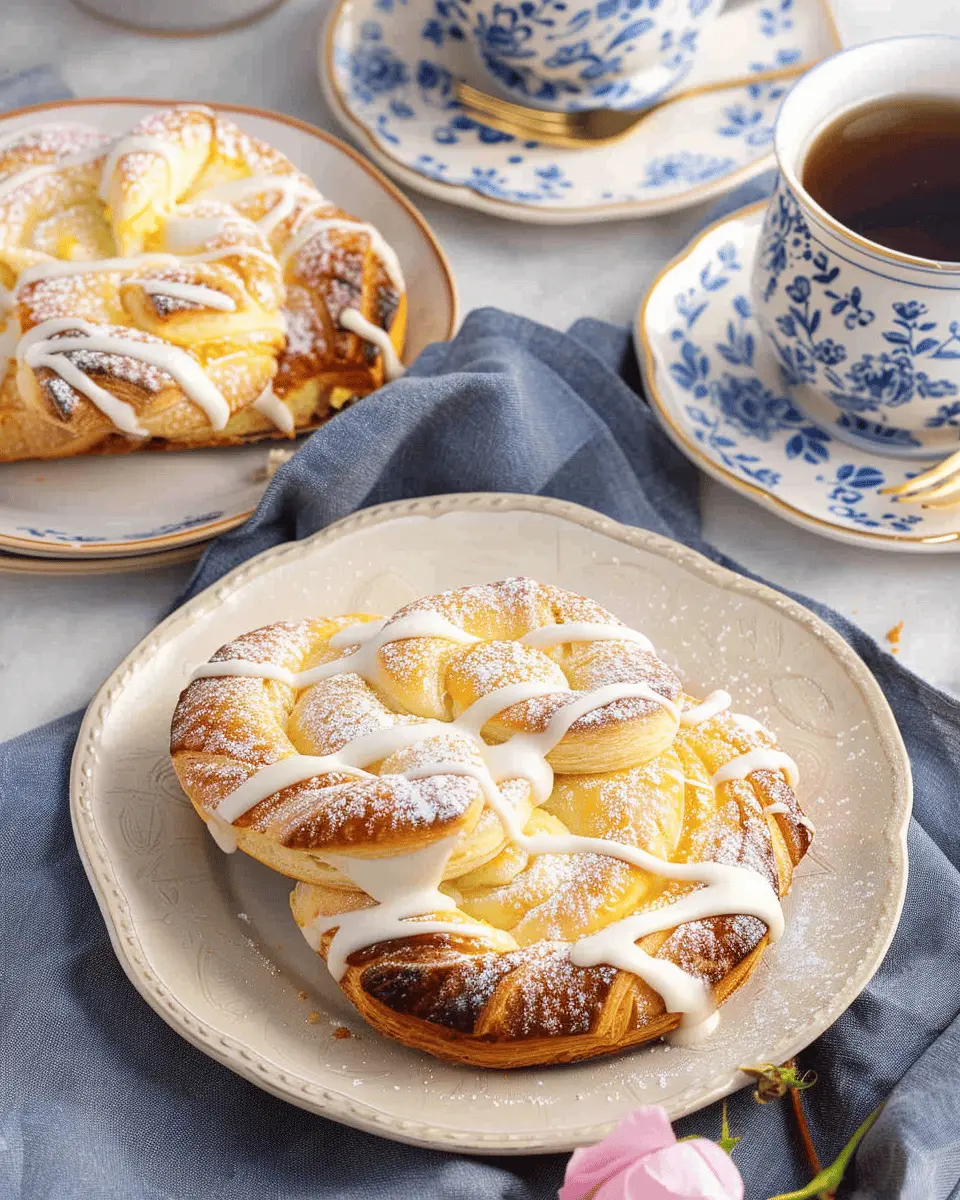
Once they are done baking, let the Danish cool on a wire rack. Dust them with powdered sugar just before serving for an elegant finish.
And there you have it! A delicious Cheesecake Danish, ready to be enjoyed with a cup of coffee or tea. Who knew making such a delightful pastry could be so simple? For tips on complementary drinks or pairings, check out Food & Wine.
So, gather your ingredients, roll up your sleeves, and enjoy the process of creating these mouthwatering pastries. Happy baking!
Variations on Cheesecake Danish
Who can resist a delicious Cheesecake Danish? While the classic version is a hit on its own, it’s fun to mix things up and explore creative variations that cater to different taste buds. Here are a couple of ideas that you’ll absolutely love!
Berry-topped Cheesecake Danish
Imagine biting into a Cheesecake Danish adorned with a vibrant layer of mixed berries! This variation is not only visually stunning but also adds a refreshing zing. Here’s how to prepare it:
- Ingredients: Fresh strawberries, blueberries, and raspberries, along with a sprinkle of powdered sugar.
- Instructions: After preparing your Danish, top it with a layer of cream cheese mixture and a generous handful of fresh berries. For an extra touch, dust with powdered sugar for sweetness and aesthetics!
This delightful treat pairs wonderfully with a cup of herbal tea or a refreshing iced coffee, making it perfect for brunch or a mid-afternoon snack. Plus, berries are loaded with antioxidants and vitamins, giving you a guilt-free indulgence!
Nutty Cheesecake Danish with Turkey Bacon
Looking for something more savory? The Nutty Cheesecake Danish with Turkey Bacon is both unique and gratifying. This twist combines the creaminess of cheesecake with a satisfying crunch.
- Ingredients: Turkey bacon, chopped nuts (like pecans or almonds), and a dash of maple syrup.
- Instructions: Cook the turkey bacon until crispy, then chop it finely. Mix it with your cream cheese filling and a sprinkle of nuts before spreading it onto the Danish. A drizzle of maple syrup on top adds a sweet contrast!
This variation is perfect for those who enjoy a balanced sweet and savory flavor profile. It’s also a great way to sneak in some protein for a more filling snack.
Feel free to experiment with these ideas, and don’t hesitate to share your creations on social media or cooking forums! For more culinary inspiration, check out articles on Inspiring Vacations for tips on hosting memorable brunches. Happy baking!
Cooking Tips and Notes for Cheesecake Danish
Choosing the Right Cream Cheese
When making your Cheesecake Danish, selecting the right cream cheese is essential. Opt for full-fat cream cheese for that creamy, rich texture that will elevate your filling. Low-fat versions can lead to a crumbly consistency that just doesn’t cut it. Philadelphia Cream Cheese is a popular choice among bakers, known for its smoothness and blendability. If you’re feeling adventurous, some even swear by mascarpone for a luscious twist!
Tips for Handling the Pastry Dough
Pastry dough can be tricky, but with a few simple tips, you’ll master it in no time:
- Keep It Cold: Cold ingredients yield flaky layers. Chill the butter and cream cheese before you start.
- Don’t Overwork It: Mix just until combined. Over-kneading can turn your dough tough.
- Roll with Care: Use a light touch when rolling out your dough to avoid tearing.
By keeping these tips in mind, you’ll create a delightful Cheesecake Danish that’s sure to impress. Need more help with pastries? Check out King Arthur Baking’s resource for comprehensive guides and tips. Happy baking!
Serving suggestions for Cheesecake Danish
Garnishing your Cheesecake Danish
When it comes to garnishing your Cheesecake Danish, think flavor and aesthetic appeal. A simple dusting of powdered sugar can elevate your creation and give it a delightful touch. Fresh berries like strawberries, blueberries, or raspberries add vibrant color and a burst of tartness that complements the creamy cheesecake filling perfectly. Don’t shy away from a drizzle of chocolate or caramel sauce either; a little indulgence goes a long way!
Ideal accompaniments for your serving
Pairing your Cheesecake Danish with the right accompaniments is crucial to enhance the overall experience. Consider serving it alongside a hot cup of coffee or a refreshing herbal tea for a cozy brunch or a delightful afternoon treat. For a more sumptuous brunch, add slices of Turkey Bacon or Chicken Ham to the table. The savory elements balance the sweetness of the Danish beautifully, making each bite a unique delight.
Feel free to explore these suggested pairings in more detail! A great resource for complementary beverages is found in the Specialty Coffee Association, where you can learn about flavor profiles and the best coffee blends to serve with your pastries.
Your Cheesecake Danish is now not just a treat but a culinary experience!
Time breakdown for Cheesecake Danish
Preparation time
Getting your Cheesecake Danish ready is a fun and rewarding experience. Expect to spend about 20-25 minutes gathering your ingredients, prepping the dough, and mixing the cream cheese filling. This initial step is crucial, as a little time spent here ensures a smooth baking process. Pro tip: Having everything measured and ready makes your time in the kitchen much more enjoyable!
Baking time
Once you’re all set, it’s time for the oven magic! Baking your Cheesecake Danish takes around 25-30 minutes. During this time, the dough develops a golden color, and the creamy filling sets into a delectable treat. Keep a close eye on them to achieve that perfect, slightly browned finish.
Total time
By the time you’re done, the total time for the Cheesecake Danish will be about 50-55 minutes from start to finish. That’s a small investment for an absolutely delightful dessert. Just think of how impressed your friends or family will be when you pull these beauties out of the oven! Enjoy some downtime while they cool, maybe sip on a refreshing herbal tea as a lovely pairing.
For further guidance on preparation techniques, check out this insightful guide. Happy baking!
Nutritional facts for Cheesecake Danish
When you’re treating yourself to a Cheesecake Danish, knowing the nutritional breakdown can help you indulge mindfully. Here’s a glimpse at the key nutritional components you can expect.
Calories
A single serving of a Cheesecake Danish typically contains around 300-400 calories. This number can vary based on the recipe or ingredients you choose, so it’s always a smart idea to check the specifics if you’re counting calories.
Protein
In terms of protein, a delightful Cheesecake Danish usually packs about 7-9 grams. This is primarily from the cream cheese and any added dairy, giving you a little boost to keep you going.
Sugar content
As for sugar content, you can find roughly 15-20 grams per serving. This sweetness comes from both the cream cheese filling and the dough. If you’re looking to reduce sugar intake, consider tweaking the recipe with natural sweeteners or less filling.
For more detailed nutritional insights, feel free to check out resources like the USDA FoodData Central or NutritionData. Keeping track of your nutritional intake can empower your cooking journey while allowing you to enjoy delicious treats!
FAQs about Cheesecake Danish
Making Cheesecake Danish can be a delightful kitchen experience, but you might have a few questions before you jump right in. Let’s tackle some common ones!
Can I make Cheesecake Danish ahead of time?
Absolutely! This recipe is perfect for prepping in advance. You can assemble the danishes and then refrigerate them for up to 24 hours before baking. This not only saves time but allows the flavors to meld beautifully. If you want to make them even earlier, you can freeze the assembled danishes. Just make sure to wrap them tightly in plastic wrap before placing them in a freezer-safe container. When you’re ready, allow them to thaw in the fridge overnight and then bake as usual.
What can I substitute for cream cheese in the filling?
While cream cheese is a classic choice for cheesecake fillings, there are several alternatives if you want to switch things up. Try using:
- Mascarpone cheese: Rich and creamy, it offers a similar texture with a slightly different flavor.
- Ricotta cheese: This can create a lighter filling with a unique taste. Just blend it well for smoothness.
- Greek yogurt: For a healthier twist, Greek yogurt provides tartness and protein but may slightly alter the texture.
How should I store leftovers?
If you have remaining Cheesecake Danish, store them in an airtight container in the refrigerator. They can typically last about 3-4 days. For best results, reheat them in the oven for a few minutes to restore that delightful flakiness before enjoying!
If you’re curious about more baking tips, consider checking out allrecipes.com for a plethora of recipes! Happy baking!
Conclusion on Cheesecake Danish
Why You Should Try Making Cheesecake Danish at Home
Making Cheesecake Danish at home is a rewarding culinary adventure that lets you impress your friends or indulge in a sweet treat all to yourself. Unlike store-bought pastries, homemade varieties allow you to control the ingredients and customize flavors to suit your taste.
Imagine biting into flaky pastry filled with rich, creamy cheesecake goodness; it’s hard to resist! Plus, the delightful blend of textures and flavors makes for an inviting brunch option or an afternoon snack.
So, why not give this effortless recipe a try? Check out resources like Joy of Baking for tips on perfecting your pastry skills! Whether you’re a seasoned baker or a beginner, this Cheesecake Danish will surely become a favorite in your recipe rotation.
PrintCheesecake Danish Delight: Easy Recipe for Homemade Indulgence
A rich and creamy cheesecake filling wrapped in flaky pastry.
- Prep Time: 15 minutes
- Cook Time: 25 minutes
- Total Time: 40 minutes
- Yield: 12 servings 1x
- Category: Dessert
- Method: Baking
- Cuisine: American
- Diet: Vegetarian
Ingredients
- 1 package cream cheese
- 1/2 cup sugar
- 1 teaspoon vanilla extract
- 1 package puff pastry
- 1 egg (for egg wash)
- 1/4 cup powdered sugar (for dusting)
Instructions
- Preheat the oven to 400°F (200°C).
- In a bowl, mix the cream cheese, sugar, and vanilla until smooth.
- Roll out the puff pastry on a floured surface and cut into squares.
- Place a spoonful of the cheesecake mixture in the center of each pastry square.
- Fold the corners of the pastry over the filling and pinch to seal.
- Brush the tops with beaten egg.
- Bake for 20-25 minutes or until golden brown.
- Remove from the oven and dust with powdered sugar before serving.
Notes
- Serve warm for the best flavor.
- Experiment with different fillings like fruit preserves.
Nutrition
- Serving Size: 1 Danish
- Calories: 250
- Sugar: 10g
- Sodium: 300mg
- Fat: 15g
- Saturated Fat: 8g
- Unsaturated Fat: 5g
- Trans Fat: 0g
- Carbohydrates: 25g
- Fiber: 1g
- Protein: 4g
- Cholesterol: 40mg
Keywords: Cheesecake Danish, dessert, pastry, homemade